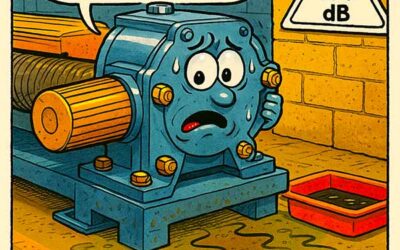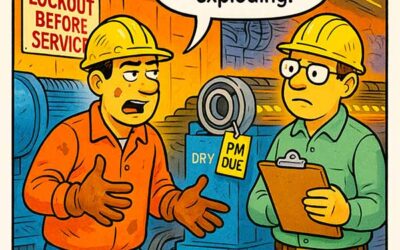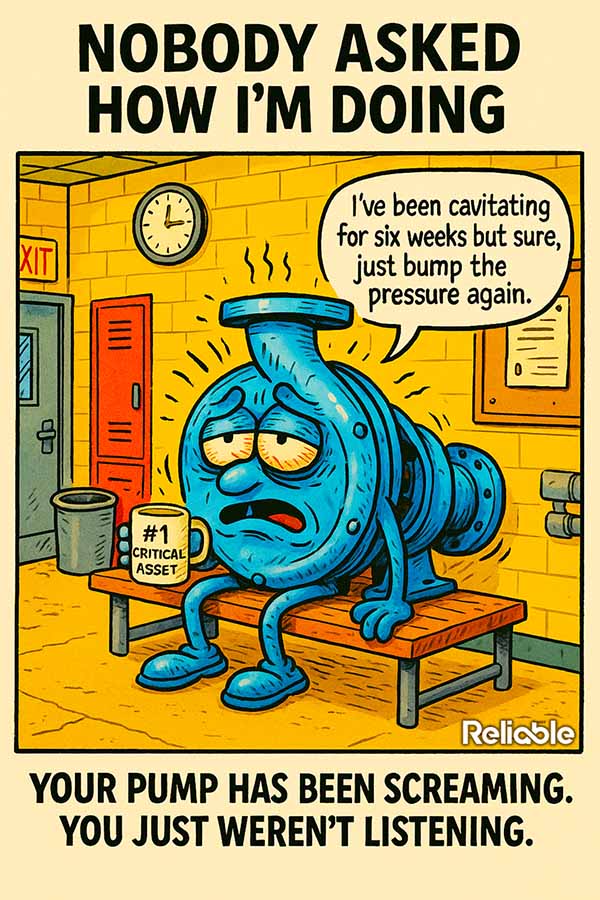

There’s a sound that every experienced operator recognizes: the angry, gravel-in-a-blender rattle of a cavitating pump. It’s loud. It’s distinctive. And in a surprising number of plants, it’s been going on for weeks before anyone writes a work order.
The typical response makes things worse. Somebody bumps the discharge pressure. The noise quiets down (or seems to). Production keeps running. And the pump’s impeller, bearings, and mechanical seal continue to erode from the inside out.
Cavitation is one of the most common and most misunderstood failure modes in rotating equipment. Understanding what’s actually happening inside that pump casing is the first step toward fixing it for good.
What Cavitation Actually Is
Cavitation occurs when the local pressure inside a pump drops below the vapor pressure of the liquid being pumped. Tiny vapor bubbles form in the low-pressure zone (usually near the impeller eye) and then collapse violently as they move into higher-pressure areas downstream.
Each bubble collapse generates a microscopic jet of liquid traveling at speeds up to 500 meters per second. That’s roughly 1,100 mph, directed at the impeller surface. One bubble does nothing. Millions of bubbles per second carve pits into hardened steel.
The damage is cumulative and predictable. First, you see pitting on the impeller vanes. Then bearing wear accelerates because the unbalanced impeller creates vibration. Then the mechanical seal starts to leak because vibration and shaft deflection exceed its tolerance limits. The whole failure cascade takes weeks or months, but the root cause was present from day one.
Each cavitation bubble collapse hits the impeller at roughly 1,100 mph. Multiply that by millions of collapses per second and you understand why impellers don’t last.
There are two main types. Suction cavitation happens when the pump isn’t getting enough flow at the inlet, starving the impeller eye. Discharge cavitation occurs when the discharge pressure is so high that flow can’t leave the pump efficiently, creating recirculation and localized low-pressure zones. Both destroy hardware. Both produce that distinctive rattling noise.
Why Operators Reach for the Wrong Fix
When a pump starts cavitating, the instinct is to increase pressure. It makes a certain intuitive sense: the bubbles form because pressure is too low, so raise the pressure. But adjusting the discharge valve or increasing pump speed doesn’t address suction-side conditions. In many cases, it makes discharge cavitation worse.
The real question is always: what changed on the suction side?
Common suction-side culprits include:
- Clogged suction strainers reducing inlet flow. This is the single most common cause and the easiest to fix, yet it’s routinely overlooked during troubleshooting.
- Insufficient NPSH available (NPSHa). The system doesn’t provide enough pressure at the pump suction to prevent vaporization. This can result from low tank levels, long suction piping runs, or increased fluid temperatures.
- Suction piping problems: air leaks at flanges or valve packing, undersized piping for the current flow rate, or too many elbows creating turbulence near the pump inlet.
- Process changes that nobody told maintenance about. A product reformulation that changed the fluid’s vapor pressure, a temperature increase, or a flow rate boost beyond the pump’s design envelope.
Each of these root causes has a specific fix. None of them involve adjusting the discharge pressure.
Reading the Symptoms Correctly
A cavitating pump gives you plenty of warning before it fails. The challenge is distinguishing cavitation from other problems that produce similar symptoms.
Pumps don’t fail silently. They give you weeks or months of warning. The question is whether anyone is trained to interpret what they’re hearing.
Vibration analysis is the most reliable diagnostic tool. Cavitation produces broadband, random vibration energy, typically in the 1 to 20 kHz range. This is different from the discrete frequency peaks you’d see with bearing defects or misalignment. A properly trained vibration analyst can identify cavitation from a single measurement and differentiate it from other issues in minutes.
Ultrasonic detection picks up cavitation even earlier than accelerometers in many cases. The high-frequency acoustic emissions from bubble collapse are detectable before the pump shows any increase in overall vibration levels.
Pressure and flow instrumentation tells the rest of the story. Compare the actual suction pressure against the pump’s required NPSH (NPSHr) from the manufacturer’s curve. If you’re within 10% of NPSHr, you’re in the danger zone. If you’re below it, cavitation is guaranteed.
Building a Cavitation Prevention Program
The best maintenance programs don’t wait for the gravel noise. They build prevention into their standard operating procedures.
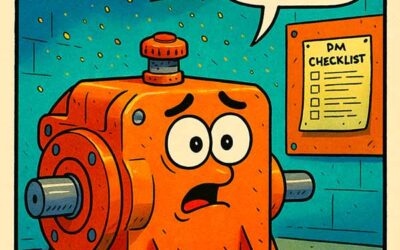
Start with baseline documentation for every centrifugal pump in the plant:
- Record the design operating point (flow, head, speed) and the pump’s BEP (best efficiency point). Pumps operating below 70% or above 120% of BEP are at elevated risk for cavitation and recirculation problems.
- Calculate NPSHa for each pump installation at normal and worst-case operating conditions. Compare against NPSHr with a minimum margin of 3 to 5 feet (or per the Hydraulic Institute’s recommendations for the specific pump type).
- Install suction pressure gauges on every pump that doesn’t already have one. This is a $50 investment that eliminates guesswork during troubleshooting.
Train operators to recognize cavitation noise and understand what it means. This doesn’t require a week-long course. A 30-minute session with audio recordings and a clear escalation path (hear the noise, check the suction gauge, call maintenance if pressure is below X) handles 90% of the early detection opportunity.
A $50 suction pressure gauge eliminates more guesswork than a $50,000 vibration monitoring system installed only on the discharge side.
Build suction strainer inspections into your PM program at a frequency matched to the process. Some plants need weekly checks. Others can go monthly. The right interval comes from tracking differential pressure across the strainer over time and setting a cleaning trigger before it affects pump performance.
The Cost of Ignoring It
Cavitation damage follows a predictable cost escalation curve. A pump running with mild cavitation might survive 18 months before impeller replacement. Moderate cavitation cuts that to 6 months. Severe cavitation can destroy an impeller in weeks.
But the impeller is just the beginning. The real expense comes from the secondary damage: bearings, seals, couplings, and the downtime required to replace all of them. A typical pump rebuild runs $5,000 to $25,000 depending on size and type. A single production outage while that rebuild happens can cost ten times that amount.
Multiply those numbers across a plant with 200 or 300 centrifugal pumps, and you start to see why cavitation prevention pays for itself faster than almost any other reliability initiative. The fixes are inexpensive: clean strainers, maintain suction pressure, monitor operating points. The consequences of ignoring the problem are brutal.
Stop Adjusting, Start Diagnosing
The next time someone reports a noisy pump, resist the urge to bump the pressure and move on. Walk to the pump. Listen. Check the suction gauge. Look at the strainer differential pressure. Ask whether anything in the process has changed recently.
Those five minutes of diagnosis will save you a rebuild, a production hit, and the frustration of fixing the same pump for the third time this year. Cavitation is telling you exactly what’s wrong. You just have to be willing to hear it.
Your pumps are communicating constantly through noise, vibration, temperature, and pressure. The plants that listen to those signals spend less on maintenance, run more reliably, and stop replacing the same bearings every quarter. The ones that don’t keep reaching for the discharge valve and wondering why nothing gets better.