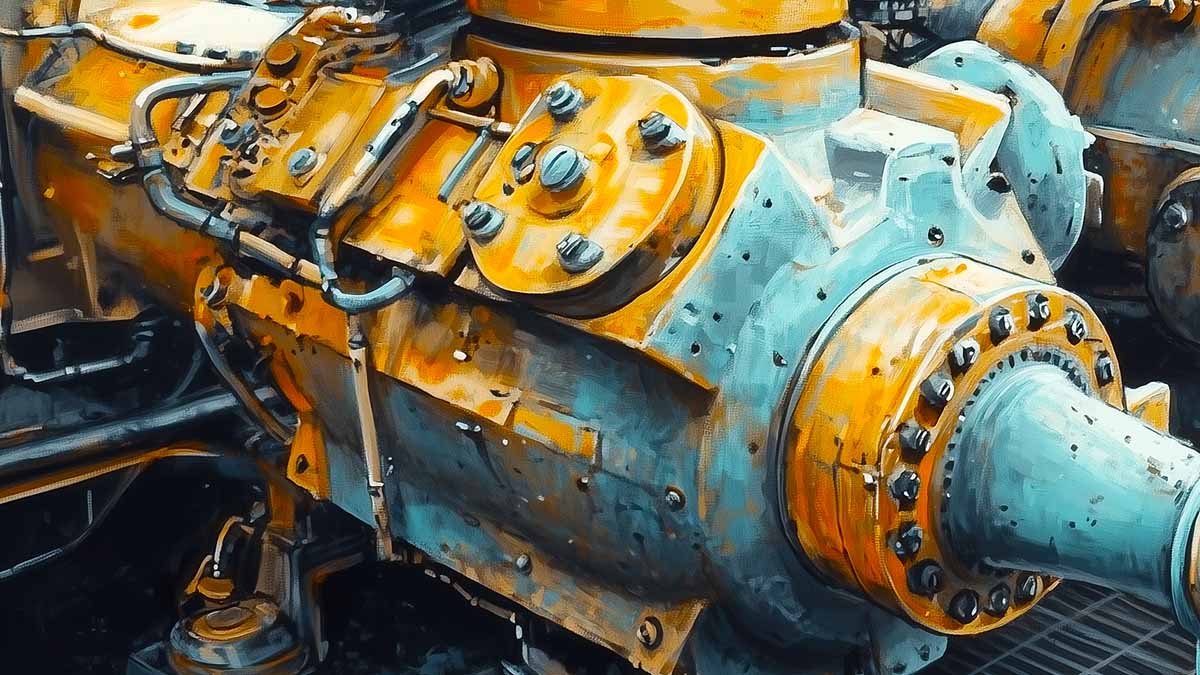
A reciprocating compressor is a type of positive displacement machine that uses a piston to compress gas, making it essential for high-pressure industrial applications.
Few pieces of petrochemical process machinery lend themselves more readily to early symptom-cause identification than reciprocating compressors. This fact becomes quite clear when considering how neglecting subtle performance changes can result in costly wrecks.
For example, high discharge temperatures can result from the simple primary cause of insufficient coolant supply. Not responding to this cause will lead to an overheated cylinder, piston seizure, ring breakage, and piston cracking.
Similarly, it would be a mistake not to respond to such audible symptoms as “knocking in the cylinder,” where the most probable cause is inadequate piston-to-head clearance. Insufficient clearance will ultimately lead to piston failure or rod breakage with attendant damage to the crosshead.
How to Identify Early Warning Signs in Reciprocating Compressors
When troubleshooting reciprocating compressors, the most important symptoms to watch for are unusual sounds and changes in pressures, temperatures, and flow rates.
Consequently, the primary troubleshooting tools are our five senses, two pressure gauges, two temperature indicators, and a flow meter.
Generally, flow meters aren’t available for each compression stage. However, considering that what enters the front end will exit at the back end, flow measurement at one stage along the way is sufficient at installations where no inter-stage inlets or knockouts are involved.
Why Pressure and Temperature Variations Matter
Using a historical compressor log sheet to record inter-stage pressures and temperatures by stage on multi-stage compressors is important. When inter-stage operating conditions vary from normal, it indicates trouble with one of the stages.
When the inter-stage pressure suddenly drops, personnel should look at the lower-pressure cylinder. If the inter-stage pressure suddenly rises, they should look at the higher-pressure cylinder.
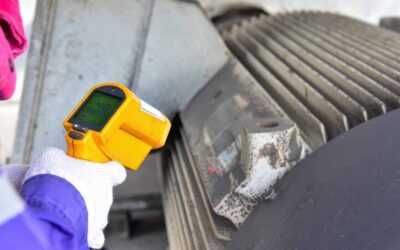
Compressor temperatures and pressures are essential to design calculations and help determine compressor health. The difference between the observed and calculated temperatures should be more or less constant from day to day.
The difference between the observed and calculated temperatures should be more or less constant from day to day.
The actual observed or calculated temperature may vary. And when suction temperatures increase, so will discharge temperatures. If the compression ratio across a cylinder increases, its discharge temperature also increases.
Comparing calculated and actual discharge temperatures provides a means to determine operating deviations.
Addressing Vibration Issues in Reciprocating Compressors
Vibration analysis is usually applied to rotating equipment, such as centrifugal compressors. It can also be helpful for reciprocating compressors. However, the sensors and analysis software used for recips emphasize this compressor’s operating speeds and frequencies, which are lower than those associated with centrifugal compressors.
Vibration analysis can alert us to coupling misalignment, even in relatively low-speed reciprocating compressors. Some troubleshooters have used vibration measurements to analyze piping fatigue failures and cracking or other fractures initiated by inherent system resonance and pulsations. Several of those problems are caused by first or second orders of running speed; either can excite resonant frequencies in pipe runs.
Usually, acoustic pulsations are suspected if the vibration frequency is higher than twice the machine’s running speed.
A Step-by-Step Troubleshooting Guide
The following troubleshooting symptom-and-reaction list is offered as a basic guide only. Available as a downloadable PDF (see link below), it reflects the eight most common reciprocating compressor issues and their most probable remedies.
- Compressor Will Not Start
- Check power supply, switchgear, and the control panel.
- Verify proper oil pressure to ensure oil-pressure shutdown has cleared.
- Ensure all starting permissive circuitry has been satisfied.
- Ensure nothing is blocking the running gear or engine.
- Low Oil Pressure
- Check all local pressure gauges for proper operation
- Verify proper operation of oil pump.
- Inspect pump for wear, and repair or replace if needed.
- Check for proper frame oil level. Drain or fill as needed.
- Check lube-oil filter differential pressure. Change elements as needed.
- Check setting of lube-oil pump relief valve. Increase if needed.
- Inspect frame lube-oil strainer.
- Frame Knocks
- Verify proper running-gear clearances.
- Inspect running-gear components.
- Check for proper oil pressure and temperature.
- Inspect cylinder, piston end clearance, piston nut, or crosshead nut.
- Noise In Cylinder
- Check end clearance.
- Check piston and crosshead nuts.
- Inspect for broken or leaking valves.
- Inspect piston rings and rider bands.
- Verify valves are installed correctly.
- Verify un-loader plugs are seating properly.
- Open discharge bottle drains to ensure no liquid in cylinder.
- Excessive Packing Leakage
- Inspect packing rings for wear, replace as necessary.
- Check for proper lubrication and adjust accordingly.
- Inspect packing case for dirt or debris.
- Verify packing properly assembled.
- Check packing vent line for obstruction.
- Inspect for damaged piston rod and repair or replace as necessary.
- Check packing clearances.
- Check piston-rod run-out.
- Packing Overheats
- Inspect packing for contamination.
- Inspect rod for damage.
- Inspect packing clearances on the rod and in the packing case.
- High Discharge Temperature
- Inspect suction and discharge valves for leakage.
- Inspect cylinder water jackets, clean if needed.
- Check suction start-up screen.
- Low Suction Pressure
- Check inlet filter differential pressure, shift filters as needed.
- Inspect isolation valves for proper operation.
Note: This troubleshooting guide may be expanded to address specific installations, package configurations, and actual operating conditions.


